By Class of Winter Term 2017 / 2018 | February 19, 2018
The Website of the Institute of Information Systems is based on a framework called Hugo. Hugo is a static website generator, which allows us to easily present your content of your deep learning projects. In order to present results in the best way, we combine this tool with another tool called Gist. Within this documentation you will learn how to work with those tools.
The manual is composed of following sections:
1. Getting Started: Installation of Hugo framework
2. Getting Started: Github
3. Hugo Basics
4. How to create a blog post with Markdown
5. Code Integration Tool: Gist
Besides this manual, we also created a sample post based on materials from group NN Fundamentals for your reference.
1) Getting Started: Installation of Hugo framework
Hugo offers a good manual on how to install all the necessary files depending on which operating system you use. Follow these links:
https://gohugo.io/getting-started/installing/
After a successful installation, you can download the complete content of the website via Github in step 2).
2) Getting Started: Github
All of the data that is used by hugo to build the website is stored in our Github repository. Use the following link:
https://github.com/Humboldt-WI/blog
In order to contribute to the blog, we ask you to please:
- Fork the repository (create a copy on your account)
- Clone the repository (create a copy of the files on your computer)
- Save all your post and images in the corresponding folders
- Create a pull request
If you need help forking the repository, follow this link:
https://help.github.com/articles/fork-a-repo/
Once you have all the files of the website on you local device, you will learn how to use Hugo to build, change and develop your blog post.
3) Hugo Basics
Open your git bash (if it isn’t already open) and make sure you are in the correct folder. In this case the folder should be called ``blog`` and what you should see should look like the following folder structure.
``` blog ├── .git ├── archetypes ├── config.toml ├── content ├── data ├── layouts ├── static └── themes ```
With the following command, you are building your Hugo website in draft mode and are able to view it in your browser, while it is still running on a local host
``` hugo server -D ```
The following code tells you that your web server is available at
http://localhost:1313/blog/
$ hugo server -D
Started building sites ...

Built site for language en:
0 draft content
0 future content
0 expired content
20 regular pages created
52 other pages created
0 non-page files copied
22 paginator pages created
14 tags created
1 categories created
3 month created
total in 38 ms
Watching for changes in /Users/Documents/Blog/{data,content,layouts,themes,static}
Serving pages from memory
Running in Fast Render Mode. For full rebuilds on change: hugo server --disableFastRender
Web Server is available at 127.0.0.1:1313 (bind address 127.0.0.1)
Press Ctrl+C to stop
Quit this running process with ``Ctrl + C``, if you are done or want to restart building the website. The later can be necessary after inserting folders or images.
Not every folder is relevant for you as an editor (Hugo of course needs all of them, so do not delete the other ones). If you are only interested in creating a blog post, then you only have to be concerned about content and static. If you are curious for information about all of the folders follow this link. If not, just continue reading.
https://gohugo.io/getting-started/directory-structure/
content as the name says is where the files are stored for each site of the overall website. Hugo works with html code that can be exported from jupyter notebooks directly and with markdown files, which you will learn in more detail in 4).
When working with Hugo it is essential to know where which information is stored. Within the content folder, you can see two folders and two markdown files. The folders represent a group of sites. The mardown files represent a single site of the website. From these files, Hugo is building the menu of the website.
File structure of the content folder:
content
├── member
├── news
├── research
├── contact.md
└── contributors.md
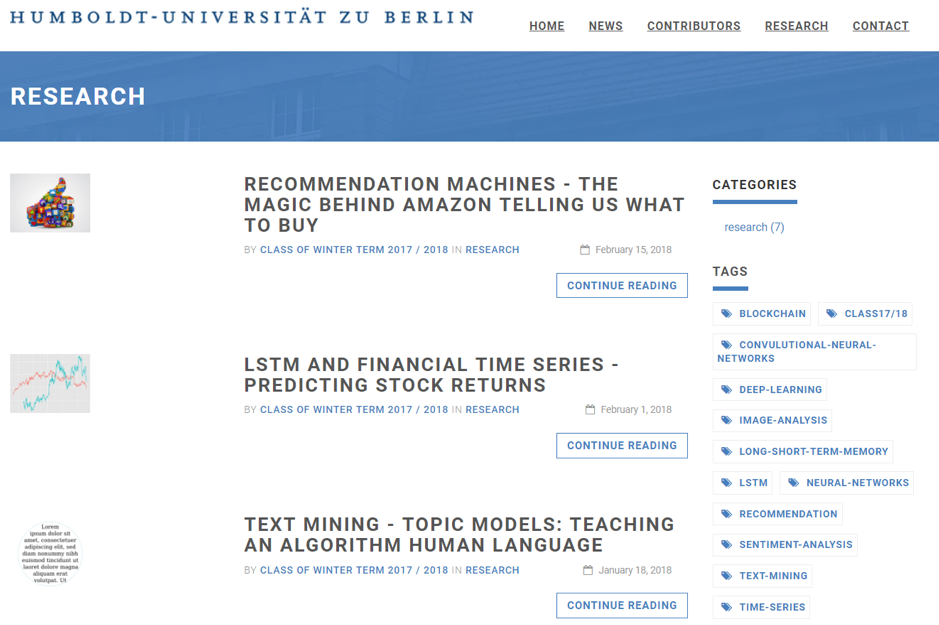
Website Look:

Going deeper, within the folder ``research`` you can find corresponding pages that present results of the chair of information systems. We distinguish here between work that has been conducted within the seminar and work outside of the seminar, i.e. as a results of dissertations. At the current time the later folder is empty and is only a proposal.
``` content ├── member ├── news ├── research │ ├── _index.md │ ├── seminar │ └── instruction ├── contact.md └── contributors.md ```
Within the seminar folder you can find markdown files already created for your respective topics.
``` research ├── _index.md ├── seminar │ ├── 01NeuralNetworkFundamentals.md │ ├── 02ConvolutionalNeuralNetworks.md │ ├── 03ImageAnalysis.md │ ├── 04TopicModels.md │ ├── 05SentimentAnalysis.md │ ├── 06FinancialTime Series.md │ ├── 07ImageCaptioning.md │ └── 08Recommendation.md └── instruction ```
Website look:
From an marketing point of view it is good to make use of the following features:
- Visually appealing images that fit well to the content of the post
- Catchy headlines that create curiosity about the subject
- Adding tags to refer to certain topics (just like hashtags)
## 4) How to create a blog post
You can use any text editor to edit your html or Markdown file. If you create a html file, you will need to copy the Markdown header below to the beginning of your document. (I personally use Atom. Some packages, such as Markdown Writer and Markdown Preview, make it easier to write Markdown.)
Here you can find a simple guide of Markdown syntax: Mastering Markdown
As we mentioned in the last section, we have already created a draft for each group in the seminar folder.
Once opening your draft, you will see the header as following:
+++
title = "Sample Post"
date = '2017-12-14'
tags = [ "Deep Learning", "Neural Networks", "Class17/18",]
categories = ["Course projects"]
banner = "img/seminar/sample/hu-logo.jpg"
author = "Class of Winter Term 2017 / 2018"
disqusShortname = "https-wisample-github-io-blog"
description = " A Sample Post"
+++
Although we have pre-defined some of the variables in the header, there are many variables you still need to customize.
Varibles that have to be customized:
authorUse the class description as the author here and state your individual names at the beginning of your blog post.dateThe time you publish your post; should follow the format'YYYY-MM-DD'descriptionOne sentence description of your postbannerA image represents your topic the most; will show up in the content list page; details see below
Varibles that can be modified:
titleThe title of your post.tagsWe have predined tags for each topic. You can add or change some, if you feel neccessary.
Varibles don’t need to be modified:
categoriesdisqusShortname
#### How to customize the banner and other images in your post:
You can see the variable banner displays as following in the header:
banner = "img/seminar/sample/hu-logo.jpg"
In order to customize the banner, you should change the path img/seminar/hu-logo.jpg
All images are saved under the static section.
We have created image folders for each group in the seminar folder under static.
File structure of the static folder:
static
└── img
    ├── banner
    ├── carousel
    ├── manual
    ├── news
    ├── seminar
    │   ├── CNN
    │   ├── financial_time_series
    │   ├── image_analysis
    │   ├── image_captioning
    │   ├── nn_fundamentals
    │   ├── recommendation
    │   ├── sample
    │   ├── sentiment_analysis
    │   └── topic_models
    ├── sign
    ├── team
    └── teaching
All the pictures in your blog post should be saved in the corresponding folder.
Thus, the ``banner`` should be modified as `` banner = "img/seminar/your_group_folder/your_image.jpg" `` in the header.
#### Some highlights of Markdown Syntax
Headlines
Formatting headlines is very easy. By using ‘#’ you can adjust the order of your headline. Check out the following example:
# H1
## H2
### H3
#### H4
##### H5
###### H6
H1
H2
H3
H4
H5
H6
Image
In order to embed images in the markdown file, you should do the following:

Slightly different from the banner, you also have to include /blog before the path /img.
For example:


You can use HTML to control the size and alignment of the image
``` ![hu logo]
<img style=” width:800px;display:block;margin:0 auto;” src=”/blog/img/seminar/sample/hu-logo.jpg”
We also recommend to add some more style information:
<img align="center" width="200" height="200"
     style="display:block;margin:0 auto;"
	 src="/blog/img/seminar/sample/hu-logo.jpg">
Blank Line
To add blank line within texts, you can simply add <br> in your file.
For example:
##### Inspect the Data
It seems like all the elements of our neural network structure are ready. Can we use this structure to tackle the problem?
Let's take a look at our data.
<br>
<br>
1,2,3,4,5
<br>
<br>
##### Fit draft of the NN to the Data
Inspect the Data
It seems like all the elements of our neural network structure are ready. Can we use this structure to tackle the problem? Let’s take a look at our data.
1,2,3,4,5
Fit draft of the NN to the Data
There is a lot more syntax when it comes to markdown files. Our goal is to only give you some basics to start off. For more about markdown syntax, please follow the links:
https://en.wikipedia.org/wiki/Markdown
5) Code Integration Tool: Gist
Exporting the Jupyter Notebook into Gist involves the following steps:
- Download the ipynb file
- Open it with a text editor
- Copy the content
- Paste the content into Gist (remember to include the .ipynb extension in the filename)
You also can use the Unofficial Jupyter Notebook Extensions to create Gist automatically.
More details here:
jupyter-contrib-nbextensions
The nice thing about Gist is its easy integration into the blog post.
The Gist can be embedded in the Markdown file by only one line of code:
<script src="https://gist.github.com/HsueanL/7356b55ef381ee05012c798be0c6ef2a.js"></script>
It looks like:
To better understand how Markdown and Gist work, you can further check the sample post.
The Markdown files for this post and the sample post are saved in the instrucion folder.
content
├── member
├── news
├── research
│   ├── _index.md
│   ├── seminar
│   └── instruction
│       ├──00SamplePost.md
│       └──Manual.md
├── contact.md
└── contributors.md
### Finally ##### Out best practice that we would like to recommend looks like this: Write a multiple theoretical parts. In between these parts use helpful images to underline your theory / formula and so on.
Create multiple Gist boxes instead of only one and fit them at the right places within you post. This way the reader will find a diversified and entertaining articles.